Friday, October 7, 2011

Repurposing

I've been using random bits of copper tubing and wire I've found lying around the house for a while to make headpins and more recently flattening out tubing to make ring parts, such as this new-not quite finished ring...

 with copper bezel and base on a silver ring. I really like the contrast between copper and silver but here where I've soldered copper together the solder still looks silver, (I expected to be able to get copper coloured solder but now know there's no such thing!) so I need to blacken the whole thing in good ol Liver of Sulfur. I also have plans to experiment with some solutions to try and acheive the pretty blue/green copper patina.
And I have also been given this wonderful item...

an old copper toilet cistern!!
It's almost too cool to cut up, but I won't have to for a while yet, and even those internal bits will provide lots of material for toilet-rings:)

NZ bead exchange

I've sent off these 10 beads to the annual exchange and now wait to see what treasures I will recieve in return:)

Wednesday, July 6, 2011

Riveting, at last.

Sheesh, what I thought would be the 'easy' part of finishing the riveted silver/glass rings I had in mind, turned into a frustratring mess.
As always seems the case with my learning process I have to muck things up a couple of times then undo and redo them before I 'get' it lol.
So third time lucky? Nope.
Simply hammering the silver tubing down into a rivet using a dapping block and punches which I figured would take a matter of minutes took over the majority of my silver class work time.
The fist ring I completed without breaking the glass I broke the silver instead! Grrr. the tubing started to split on one side and once that happened it was impossible to hammer more without worsening the split, resulting in a 'pacman' shaped rivet, shown on the right (yeah I totally meant for it to look like that:/ )
What I learnt from that though was that my tubing was tooo long  and it only takes an extra 4mm above the bead to make a rivet without  a pacman split, maybe even less would be better. 
I'm happy with the last finished rivet attempt on the left. The rivet is still not quite tight enough against the bead, as shown below, but theres no movemnt in it and I think it's a pretty ring.  
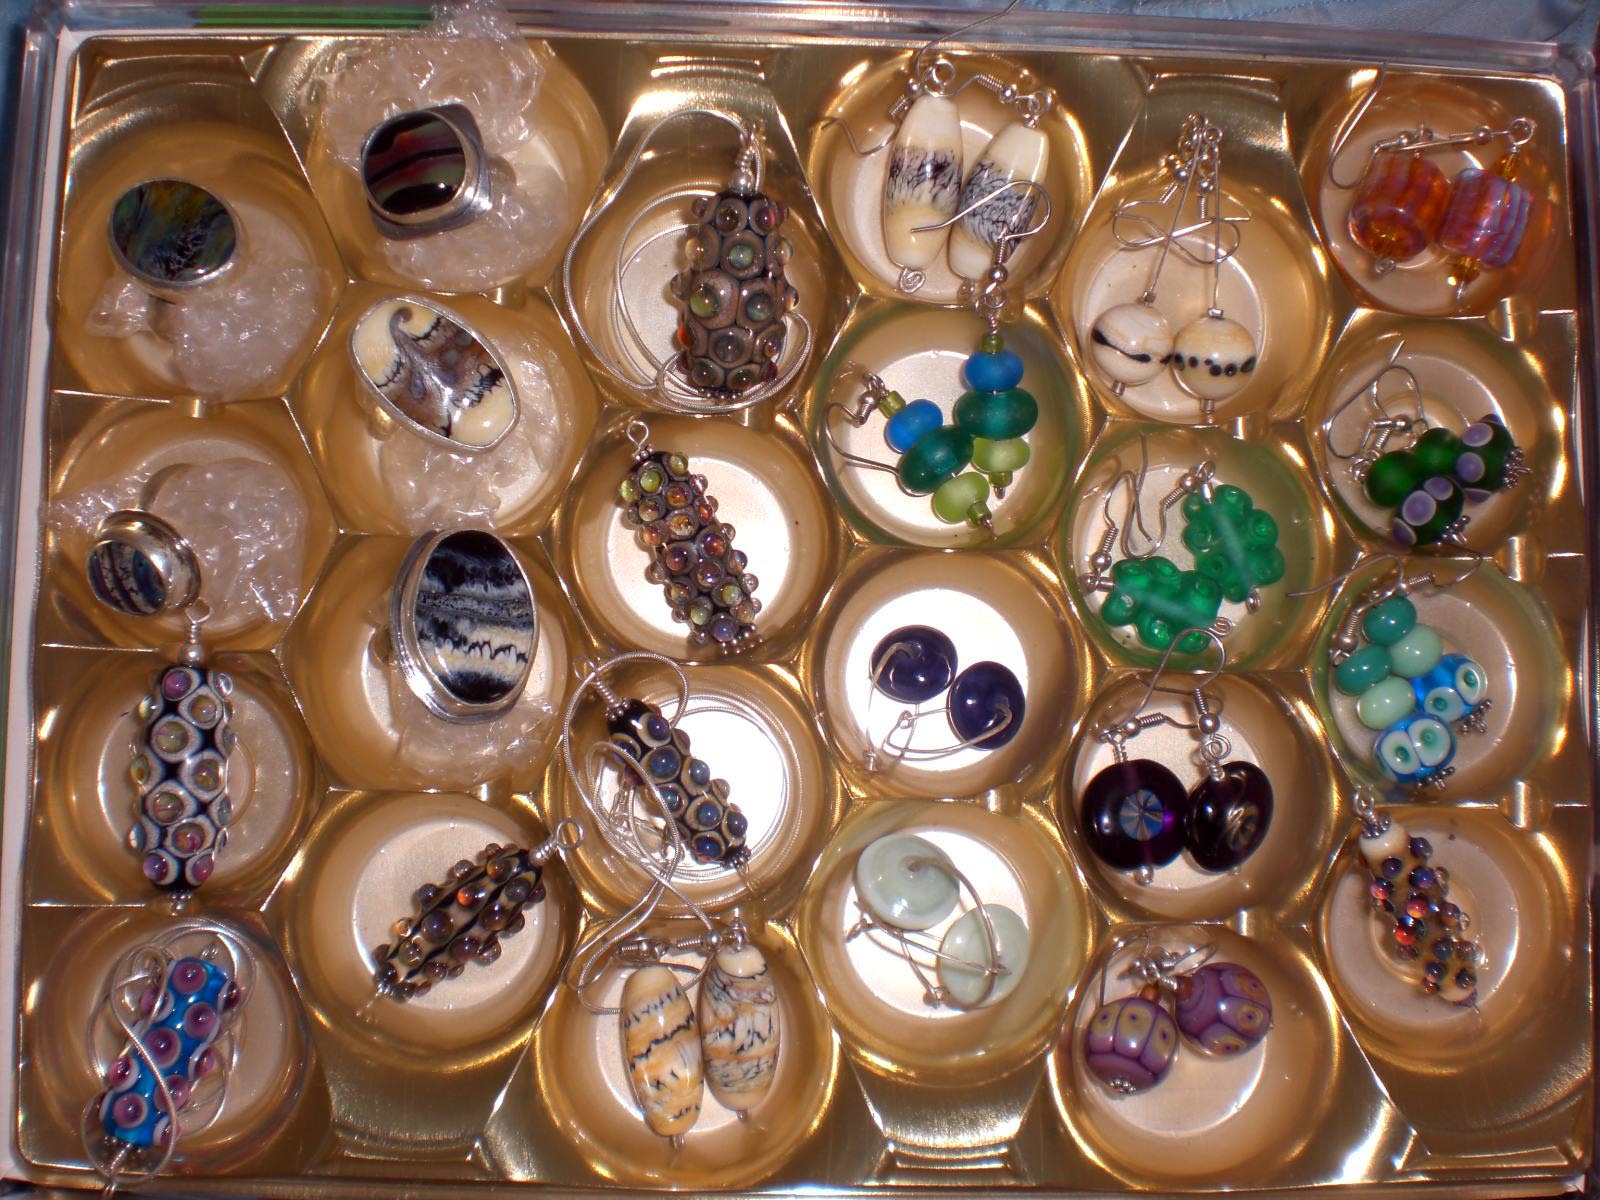
The remainder of the silver classes I spent discovering the allure of Liver of Sulfur (not the smell!) and happily throwing all my completed silver pieces into the jar to turn black and then scrubbing off some of the black to leave a beautiful aged finish. I LOVE this effect.

Saturday, July 2, 2011

Sunday, May 29, 2011

Silver Class

I'm really enjoying going to someone elses studio for three hours one evening each week:) I really get to concentrate and be more productive than I do at home, having an expert brain to fire questions at is awesome too. I still typically have 3 different projects in process at once (not to mention the unfinished things at home!) but the one closest to completion is my bead tube ring.
A hammered silver band with a flap riveted tube

I suffered a small setback when this happened to the bead I was making the ring for...

 And then this...
Boo-hoo. As much as my beads are kiln annealed "for strength and durability" and generally tolerate being dropped on a concrete floor, they don't really like being hammered!
So then I had to make a new bead for the ring, which turned out brilliantly


So, next class to flare out the tube - without breaking the bead!

Today is the anniversary of Jeff Buckley passing away. I will be listening to his album Grace and remembering an amazing musician with a beautiful pure soul!

Friday, May 27, 2011

Eureka... Cab success!!

I sooo love when I come up with a solution to a problem and then my idea actually works out:)
After my cab disasters I looked online a bit for some answers without out luck, but then just letting it all percolate in my brain I eventually had an EPIPHANY in the middle of the night! I don't know if my idea is original? or if it's the way anyone else does it? or if it's actually just really simple and obvious? but it came to me seemingly out of the blue and I couldn't wait to get out to the workshop and give it a try.

I figured that maybe I could stop the centre of the beads collapsing and the holes moving up... by filling the holes with a glass stringer and allowing it to melt in. I was excited and it seemed like it would work but I wasn't sure until I gave it a try, (I thought my last experiment would work too!).

I went a lot gentler with the kiln heat too, and selected just flat beads without reducing colours.
ta da -
 They came out nicely smooth and rounded with flat bottoms and nicely tapered edges, YAY!
I still need to tweak the idea a bit, better fitting stringers and matching colours and maybe even melt a little further. I was being cautious this round so the holes are still a little open. Also the beads obviously get larger when they spread out so I need to use some smaller to begin with but I think I'm finally on the right track.
 I'm a happy girl:) So now heres's a whippet pic...

Saturday, May 14, 2011

Ugly slumps (or 'how not to')

I decided to try slumping some of my beads to eliminate the bead holes and turn them in to cabs for rings etc. I used kiln paper and selected some different shaped beads to experiment with, rounds, barrels, lentils, and so on, in the hope they would melt into smooth beautiful shapes like Mikelene of http://www.truewealthsbeads.blogspot.com/ makes:)
My results weren't pretty.
I thought the lentils would be a good shape but as shown in those on the left below the holes gravitated upwards and scarred the surface on most of them:(
Looks like I needed to do a better job of cleaning out the bead release too:( And it seems my method of pumping up the kiln to high heat overcooked the silver colours and what were 'luminous' greens and blues came out muddy greens and grays:(
I should have taken some before shots too but I was acting on an impulsive spur of the moment! 


 There are a couple of possibly usable cabs, I do like the round one below left.
Overall not a good success rate though.
I really need to get some tips! I hope it can be done without having to split the beads in half first.

Tuesday, May 10, 2011

A handful...

of rings of course!
Most of these are from a while back but have been refined and 'properly' polished now, amazing the difference from what I thought was shiny to how shiny shiny can be with tripoli, dialux and my dremel, oh and a few hours spent:)
Now I need to get better at taking photos to show the shine

This is one of the newest pieces, as yet unnamed, but really much shinier in person.

I'm excited to be starting a silver-smith night class again, a repeat of the class I did 3 years ago now but the teacher was great and let the students make what they wanted at their own level. I was only just starting to make glass then and that became my obsession instead, but now I have been playing with integrating the two I can't wait to improve my metal skills and learn some new techniques with that, I might do an enameling workshop too. FUN!

Friday, May 6, 2011

April Disappeared

 Obviously I'm not a very conscientious Blogger! I'm gonna aim for at LEAST one post per month though;)
And I did make some stuff in April...
These beads were all various Double Helix silver colours over ivory, yep my favourite go-to combo. I love the names they give their colours too, I think L to R are Aurae, Gaia, Psyche, Triton, Clio and ?
My partner and son (age 13) were playing around and did some matching up with some BHB's (big hole beads) which I left on as optional/removable extras, next time maybe I'll make some that specificly match.


My Mum's been having chemo for lymphoma and claimed all these as presents for hospital staff.

I also got to Justin Townes Earle show in Wellington which was fantastic, (he won me when he opened for Wilco last year!) He's a lttle more country/old timey than I usually like, (actually I really like the term 'revivalist' !) Actually that was still late March but anyway he was great, brilliant guitar playing and his violin player Josh Hedley was equally amazing.
And Angel and Paisley are getting more used to each other, (they have new matching collars now too and I'm in the midst of recycling an old sleepig bag as Whippet coats for winter lol) and I love this pic of them mirroring each other:)

Saturday, March 26, 2011

Must-eat-more-chocolate

I love these Ferrero Rocher boxes for displaying my jewellery!!

The compartments are perfect sized and they come with a great lid too. Plus all the fun of emptying them:)

I also love our newly adopted whippet, Angel.

                                  
She has such a dignified personality, compared to wonderfully crazy Paisley 
                                           Here with Paisley in matching whippet pyjamas,
Awwwwwwww!!


Tuesday, February 22, 2011

Courage

I just put together two whole glass bead necklaces in record time!
These are for an exhibition the NZGBA are putting together in support of the Bead of Courage program. Children dealing with illness are given beads to represent the procedures they undergo. I don't usually do 'exhibitions' due to my dislike for deadlines and the whole submission process. I have donated random beads to BOC before but when I was asked at the last minute to contribute a necklace of a single colour to help represent a childs journey I decided I could manage that and actually did two from scratch in a week, (well it's a record for me!).
Lime green represents Isolation, fever, neutropenia


And purple for Morphine/dopamine/PCA infusion


The NZGBA is working with The Child Cancer Foundation to develop a month-long exhibition of Courage Beads for Child Cancer Month in March 2011 to be held in the foyer of the Vero Tower in Auckland.

Monday, February 14, 2011

For Joe

My best friend has moved to Australia, boohoo!
Before she left I made this ring especially for her, she chose the bead and I like that it is reminescent of the Mountain and surf here in Taranaki NZ, a good remember 'home' bead :)


I actually lost the whole ring while making it though, polishing with the dremel tool (*remember not to hold rings on cloth when rotary polishing*).
The whole thing flung out of my hand and across the workshop and I couldn't find it ANYWHERE! I thought I was going to have to CLEAN the whole place!
This is what my silver corner looks like, rotary tool on the left corner, (note fish tank at the other end of my bench)

I  even looked in there as a last resort after a frustrating half hour and pulling all that crap out from under the bench

It is already 'decorated' with reject beads and random bits, the fish like them. It wasn't until I actually looked over the top of the open tank I found the ring nestling in the back! Little sucker.


At least I found it, and lucky it hadn't smashed the glass tank, that would have really sucked.

Saturday, January 1, 2011

progress

These are the rings I've made in the last few weeks. Actually I've really made twice as many as these because they've nearly all been made, pulled apart and reassembled! I had problems with the beads rattling inside the setting when it was closed, even though the fit tightly before closing, grrr.
I think because the beads are tapered on both sides so not a completely flat bottom, anyway the solution for those was a thin piece of suede under the bead - no more rattling :)
 I think they are improving...
No 1

no 3
No 4

No 5

No 6

And No 7


My favourite so far